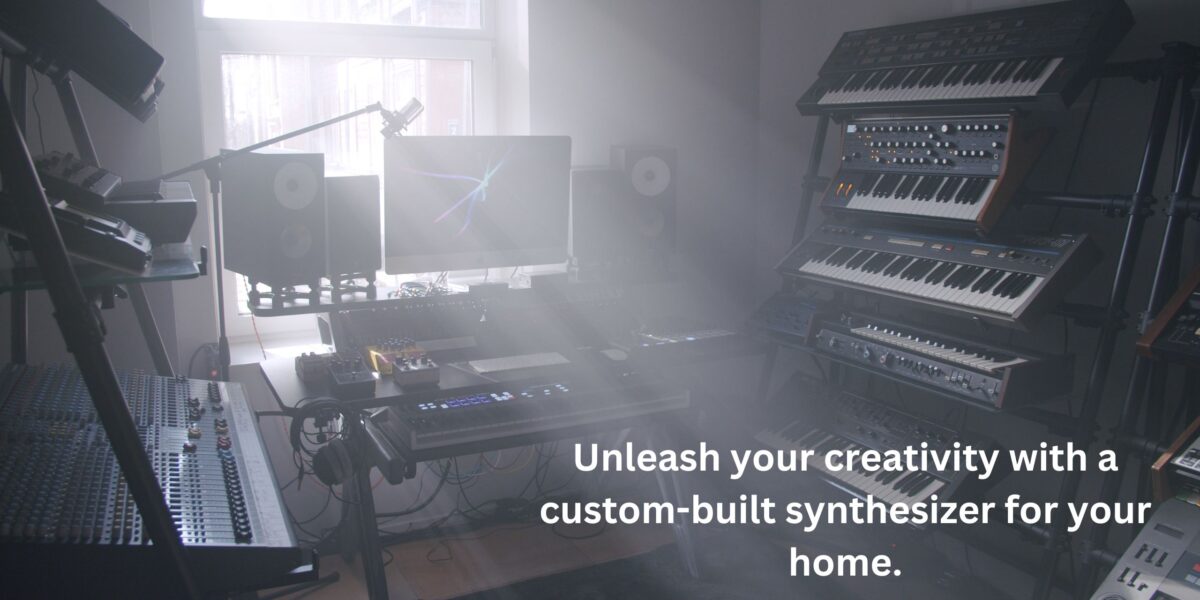
It is impossible to exaggerate the value of a well-planned home studio for musicians. It is a place where originality is fostered, concepts are investigated, and new music is created. The creative process and production of musicians can be greatly impacted by a cozy and practical home studio. This post will go over crucial improvements to improve home audioscapes and establish the ideal musical experience.
Acoustic Therapy
For your home studio to produce a balanced and accurate sound, proper acoustic treatment is essential. It assists in minimizing sound distortion, standing waves, and reflections. Foam panels, bass traps, and diffusers are a few examples of the different kinds of acoustic materials and panels that are offered on the market. Understanding the function of each type is crucial for selecting the ideal combination for your area because each type has a distinct purpose.
You have the option of installing the acoustic treatment yourself or having a professional do it for you. Regardless of the path you take, make sure to strategically position the panels for best results. Put your attention in the corners, early reflection sites, and other places where sound tends to accumulate. To get the desired outcomes, testing and adjustments may be needed because acoustic treatment is not a one-size-fits-all approach.
Soundproofing
While acoustic treatment and soundproofing are frequently used interchangeably, they have different functions. The goal of soundproofing is to keep sound from entering or leaving a space, whereas the goal of acoustic treatment is to enhance the quality of the sound already present. For a home studio to operate without bothering neighbors or other family members or allowing outside noise to interfere with your recordings, soundproofing must be effective.
A home studio can be soundproofed using a variety of techniques. Sound transmission can be reduced utilizing materials for insulation, decoupling, adding bulk, and sealing holes. To make your area as soundproof as feasible, fix frequent sound leakage locations like doors, windows, and air vents. It may be possible to upgrade to soundproof doors and windows or use acoustic sealants and weatherstripping as alternatives.

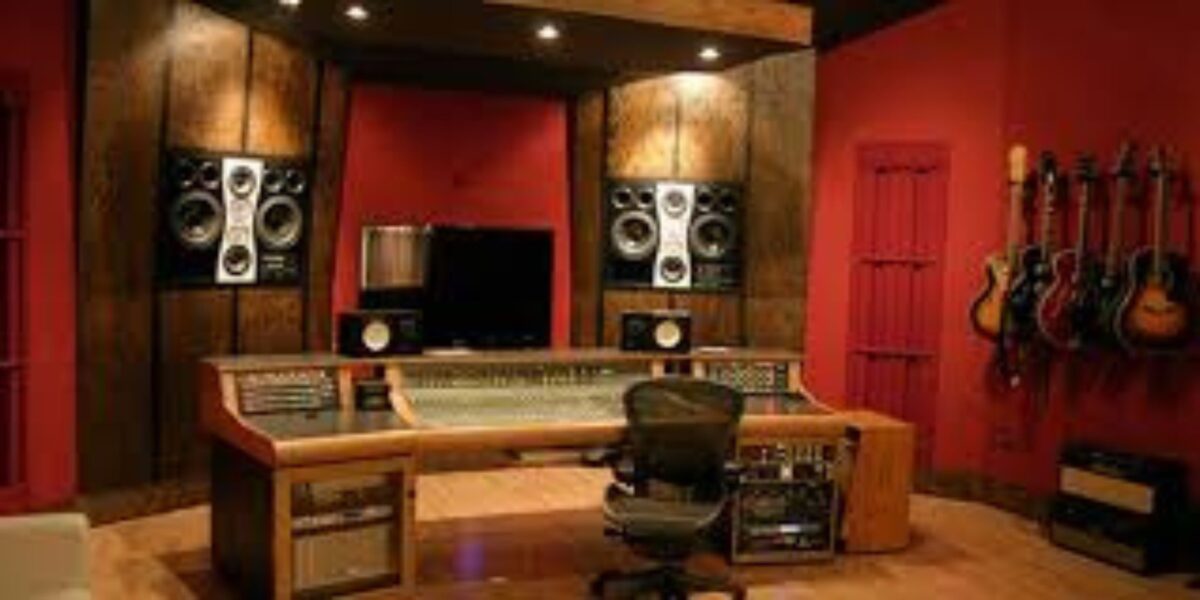
Placement and calibration of studio monitors
Making wise judgments about your blend requires accurate monitoring. A balanced sound can be attained by carefully positioning and calibrating your studio monitors. With the speakers positioned toward your ears, your monitors should ideally form an equilateral triangle with your listening position. Make sure your monitors are unobstructed and at ear level.
To produce a flat frequency response, calibrating your studio monitors entails tweaking the volume, EQ settings, and other factors. You can use a variety of methods and technologies to aid in this process, including reference tracks and room analysis software. Additionally, to reduce vibrations and increase the accuracy of your monitoring system, think about using speaker isolation pads and stands.
Designing an ergonomic workspace
It’s critical to have a practical and cozy workspace if you want to stay productive and concentrated during extended recording or mixing sessions. To encourage appropriate posture and reduce physical strain, make an investment in ergonomic equipment, such as movable chairs and workstations. To keep your equipment and cables arranged and accessible, use storage options like shelves, racks, and drawers.
Organizing your equipment in a sensible and effective way is another aspect of making your workspace more productive. Assort similar equipment, such as audio interfaces and outboard devices, and designate specific spaces for mixing, editing, and recording. Use cable management tools to keep cables organized and easily accessible, and keep commonly used objects out of the way to avoid risks.
Ambient and Lighting
Your productivity and general attitude can be greatly impacted by the lighting in your home studio. An appealing, well-lit setting can encourage creativity, whereas poor lighting might result in eye strain and tiredness. To design a balanced and eye-catching workstation, think about mixing ambient, task, and accent lighting. For task-oriented activities, adjustable lighting is excellent. Desk and floor lamps may be readily shifted to meet your needs.
Consider integrating unique elements into your studio that showcase your distinctive style and preferences in addition to lighting. A more welcoming and motivating environment can be produced using artwork, plants, and other ornamental components. Don’t be afraid to experiment with various ideas and layouts, and select colors and materials that express the feeling you want to create in your room.
Airflow and climate regulation
Maintaining a cozy and healthy environment in your home studio requires proper air circulation. Long-term exposure to stale air and poor air quality can cause exhaustion, respiratory problems, and even equipment damage. To ensure fresh air circulation and prevent any health risks, make an investment in an effective ventilation system.
Keeping yourself at a suitable temperature is essential for your health and the durability of your equipment. Extreme temperatures can ruin sensitive electronic components or make instruments go out of tune. To control the temperature, use HVAC (heating, ventilation, and air conditioning) equipment, as well as portable warmers and fans. Be aware of the noise these devices produce, and if required, think about upgrading to quieter models.
Another crucial component of climate control is humidity management, particularly for performers using sensitive instruments like pianos or acoustic guitars. While too little humidity can result in cracking or other damage, too much humidity can cause wood to expand and warp. To keep tabs on the humidity levels in your studio, either make an investment in a dependable humidity management system or utilize a hygrometer.

Electrical safety and power management
The equipment in your home studio must be used safely, which requires effective power management. To shield your equipment against voltage spikes and fluctuations, spend money on high-quality surge protectors and power conditioners. Make sure your electrical system complies with regulations and can support the load of your equipment. If you have any questions or require assistance with electrical upgrades, speak with a certified electrician.
To avoid trip risks and to provide simple access for maintenance or troubleshooting, organize your cords. To keep your wiring organized and safe, use wire ties, cable organizers, and other accessories. To further ensure electrical safety, avoid overloading outlets, use grounded plugs, and routinely check your equipment for wear and damage.
Your musical production and experiences will be much enhanced if you devote the necessary time and effort into setting up a well-organized home studio. You can create a cozy and motivating setting for your musical activities by concentrating on crucial improvements like acoustic treatment, soundproofing, ergonomic office design, lighting, and climate management. Never undervalue how much a well-planned workspace may improve your productivity and creativity. You can make your home studio into a place that truly resonates with your individual creative voice with careful planning and attention to detail.